Easy DIY Fall Candles: Essential Oil Recipes
DIY fall candles with essential oils can transform your home into a cozy autumn haven, banishing those generic, overpowering store-bought scents. Are you tired of seasonal air fresheners that feel more like a chemical assault than a warm hug, leaving your living room smelling artificial and uninspired? Imagine instead filling your space with the subtle, natural aromas of cinnamon, clove, and pumpkin spice, creating an ambiance so inviting you’ll want to curl up with a good book and a warm drink. These delightful DIY creations can be made for just a few dollars each and in under an hour. In this article, I’ll guide you through seven simple recipes, showing you exactly how to blend beautiful scents and the basics of candle making to bring the magic of fall indoors, the natural way.
Embrace the Season: DIY Fall Candles Infused with Nature’s Best
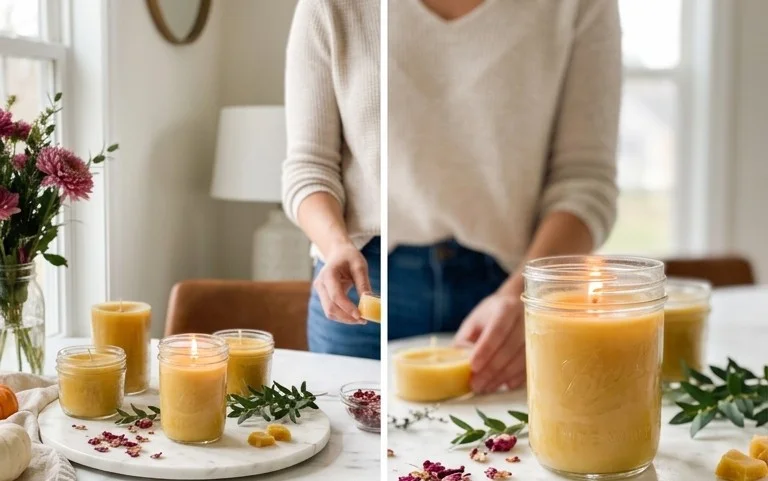
As the leaves begin to turn and a crisp chill enters the air, there’s a certain magic to fall that calls for cozy evenings and warm, inviting scents. And what better way to capture that essence than by creating your own hand-poured candles? This isn’t just about filling your home with beautiful fragrances; it’s about a rewarding DIY project that connects you with the season and the power of natural essential oils. Forget those mass-produced candles with artificial scents. Today, we’re diving into seven delightful DIY fall candle recipes, all infused with the therapeutic and evocative aromas of essential oils. I’ll guide you through everything you need, from the basic supplies to the nuanced styling, ensuring your handmade creations are not only fragrant but also beautiful and functional.
Gathering Your Autumnal Arsenal: What You Need and Rough Costs
Embarking on this DIY journey is more accessible than you might think. The initial investment for a good set of candle-making supplies is quite reasonable, especially if you plan to make multiple candles.
Essential Supplies:
* **Soy Wax Flakes:** Approximately 5 pounds (2.2 kg) of natural soy wax flakes. This is a popular choice for DIY candles due to its clean burn and excellent scent throw. (Roughly $20-$30)
* **Candle Wicks:** You’ll need pre-tabbed cotton or wood wicks. For this project, let’s aim for about 20 wicks. Ensure they are the correct size for your chosen containers (usually indicated by the wick manufacturer based on container diameter). (Roughly $10-$15)
* **Wick Stickers or Hot Glue Gun:** To secure the wicks to the bottom of your containers. (Wick stickers are about $5, a basic hot glue gun and sticks are around $15-$20).
* **Pouring Pot or Double Boiler:** A dedicated pouring pot (around $15-$25) is ideal, but you can also create a makeshift double boiler using a heatproof bowl set over a pot of simmering water.
* **Thermometer:** A candy or digital thermometer is crucial for monitoring wax temperature. (Roughly $10-$20)
* **Stirring Utensils:** Wooden skewers or metal spoons that you don’t mind dedicating to candle making.
* **Containers:** Reusable glass jars, tins, or ceramic vessels are perfect. For this project, let’s assume you’ll use around 5-7 jars, each holding about 8 ounces (236 ml) of wax. Thrift stores and dollar stores are excellent sources for affordable containers. (Roughly $15-$30 for 5-7 jars).
* **Essential Oils:** This is where the magic happens! For fall, consider blends like cinnamon, clove, orange, ginger, nutmeg, cedarwood, frankincense, and patchouli. You’ll need about 0.5 to 1 ounce (15-30 ml) of essential oil per pound (453g) of wax, depending on your desired scent strength. For our 5 pounds of wax, you’ll need approximately 2.5 to 5 ounces (75-150 ml) total. (Essential oils can range from $10-$30 per 15ml bottle, so budget around $50-$100 for a good selection).
* **Optional: Dye Blocks or Liquid Candle Dye:** If you want to add a subtle fall hue. (Roughly $5-$10).
**Total Estimated Initial Investment:** $115 – $230 (This can vary greatly depending on where you source your supplies and the quality of essential oils you choose. Buying in bulk can significantly reduce costs).
Measuring Twice, Pouring Once: Planning Your Fall Fragrances
Before you even think about melting wax, let’s get organized. Planning is key to a successful and enjoyable candle-making experience.
What to Consider:
* **Container Size and Wax Volume:** Most 8-ounce (236 ml) jars will hold approximately 6-7 ounces (170-200g) of melted wax, depending on the wax density and whether you’re adding fragrance. To fill 5-7 such jars, you’ll need roughly 3-4 pounds (1.3-1.8 kg) of soy wax flakes. Our 5-pound bag gives you plenty of wiggle room for mistakes or larger batches.
* **Fragrance Load:** This is the ratio of fragrance oil to wax. For essential oils, a good starting point is 6-10% of the wax weight. For 1 pound (453g) of wax, that’s about 0.6 to 1 ounce (18-30 ml) of essential oil. Since we’re using 5 pounds of wax, you’ll need between 3 to 5 ounces (90-150 ml) of essential oil in total.
* **Essential Oil Blends:** This is where you can really get creative! I’ve put together seven unique fall-inspired blends below. Decide which scents you want to make, and then calculate the amounts of each essential oil needed for your total fragrance load.
* **Wick Size:** Crucial for a clean burn. Too small a wick, and the candle will tunnel (burn down the center, leaving wax on the sides). Too large, and it will create excessive smoke and soot. Check the wick manufacturer’s guidelines for your container diameter.
* **Work Area:** Find a well-ventilated space that you don’t mind getting a little messy. Protect your surfaces with newspaper or old towels.
The Art of Infusion: Your Step-by-Step Candle-Making Guide
Now, let’s get our hands dirty (well, waxy!). This process is straightforward and incredibly satisfying.
The Process:
1. **Prepare Your Containers:** Ensure your jars are clean and completely dry. If using wick stickers, adhere one to the metal tab of your wick and press firmly onto the center of the bottom of your container. If using a hot glue gun, apply a small amount of glue to the wick tab and press into the center of the container bottom.
2. **Secure Your Wicks:** Use wick centering tools (or pencils, chopsticks, or clothes pins) to keep the wicks perfectly upright and centered in your containers while the wax is poured.
3. **Melt Your Wax:** Measure out your soy wax flakes. For every pound of wax, you’ll need about 1 pound (453g) of wax. If you’re making 5 candles that hold 6 ounces of wax each, that’s 30 ounces (850g) total, which is about 1.8 pounds (0.8kg) of wax flakes. For ease, let’s work with full pounds. Melt about 2 pounds (907g) of soy wax flakes in your pouring pot or double boiler. Heat the wax gently, stirring occasionally, until it’s completely liquid.
4. **Monitor Temperature:** Use your thermometer to track the wax temperature. Soy wax typically melts around 120-180°F (49-82°C). The ideal temperature for adding fragrance and pouring will depend on the specific wax and essential oils you’re using, but generally, aim for around 135-140°F (57-60°C) for adding fragrance, and slightly cooler, around 125-130°F (52-54°C) for pouring.
5. **Add Your Essential Oils:** Once the wax reaches the desired temperature for fragrance addition (around 135-140°F / 57-60°C), remove it from the heat. Carefully measure and add your pre-mixed essential oil blend. Stir gently but thoroughly for at least 2 minutes to ensure the oils are fully incorporated into the wax. This is crucial for a good scent throw. If you’re adding dye, stir it in at this stage as well.
6. **Pour the Wax:** Let the wax cool slightly to the pouring temperature (around 125-130°F / 52-54°C). Carefully and slowly pour the melted wax into your prepared containers, avoiding disturbing the wicks. Fill them to about ½ inch (1.2 cm) from the top.
7. **Cure Your Candles:** This is a vital step for optimal scent throw! Allow your candles to cool completely and cure for at least 24-48 hours, and ideally up to a week, before burning. This allows the fragrance to bind with the wax.
8. **Trim Your Wicks:** Before the first burn, trim your wicks to about ¼ inch (0.6 cm). This prevents excessive flame and soot.
Seven Enchanting Fall Essential Oil Candle Recipes
Here are seven blends to get your creative juices flowing. For each recipe, aim for a 7% fragrance load. This means for every 1 pound (453g) of wax, you’ll use approximately 0.49 ounces (14.5 ml) of essential oil. If you’re using 2 pounds of wax, you’ll need about 1 ounce (29 ml) of essential oil in total for each batch.
1. **Cozy Hearth & Home:**
* 2 parts Cinnamon Bark Essential Oil
* 2 parts Sweet Orange Essential Oil
* 1 part Clove Bud Essential Oil
* 1 part Frankincense Essential Oil
2. **Spiced Apple Cider:**
* 3 parts Sweet Orange Essential Oil
* 2 parts Cinnamon Bark Essential Oil
* 1 part Ginger Essential Oil
* 1 part Nutmeg Essential Oil
3. **Woodland Wanderer:**
* 3 parts Cedarwood Essential Oil
* 2 parts Bergamot Essential Oil
* 1 part Patchouli Essential Oil
* 1 part Pine Essential Oil
4. **Pumpkin Patch Delight:**
* 3 parts Sweet Orange Essential Oil
* 2 parts Cinnamon Bark Essential Oil
* 1 part Clove Bud Essential Oil
* 1 part Cardamom Essential Oil
5. **Crisp Autumn Air:**
* 4 parts Eucalyptus Essential Oil
* 2 parts Peppermint Essential Oil
* 1 part Rosemary Essential Oil
6. **Warm Vanilla Embrace (Note: Vanilla absolute or oleoresin is often used here. If using pure vanilla essential oil, it can be more expensive. Consider a blend with other warming notes):**
* 3 parts Vanilla Oleoresin/Absolute (or a blend of Benzoin and Sandalwood for a similar warm, sweet profile)
* 2 parts Sweet Orange Essential Oil
* 1 part Lavender Essential Oil
7. **Harvest Spice Blend:**
* 3 parts Cinnamon Bark Essential Oil
* 2 parts Clove Bud Essential Oil
* 2 parts Nutmeg Essential Oil
* 1 part Ginger Essential Oil
Remember to adjust these ratios based on your personal preference for scent strength.
Styling Your Cozy Creations: Where and How to Place Them
Once your candles are cured and ready, it’s time to think about how they’ll enhance your space.
Colour and Texture:
Think warm, earthy tones. Terracotta, burnt orange, deep reds, mustard yellows, and rich browns are perfect for fall. You can achieve these colours with a subtle dye, or let the natural creamy colour of soy wax shine through. Texture is also key. Pair your smooth, poured candles with rustic elements like wooden coasters, woven placemats, or chunky knit blankets.
Placement for Maximum Impact:
* **Entryway:** A welcoming scent as soon as guests arrive. Place a single, beautifully scented candle on a console table or a small shelf.
* **Living Room:** Anchor your coffee table or side tables with candles. Grouping 2-3 candles of varying heights and diameters can create a beautiful centerpiece. Consider placing them on a decorative tray for a polished look.
* **Kitchen:** A subtle scent can combat cooking odors. A smaller candle on the counter or a shelf works well.
* **Bedroom:** For a truly relaxing atmosphere, place a candle on your bedside table (always a safe distance from flammable materials).
* **Small Spaces & Rentals (No Drilling!):** This is where your creativity shines! Use decorative shelves that sit on the floor or hang from existing hooks. Floating shelf alternatives like acrylic shelves that adhere with strong, damage-free adhesive strips are excellent for rentals. Pillar candles can be placed directly on sturdy surfaces like bookshelves or countertops. If you don’t have much surface space, consider hanging candle holders that attach to curtain rods or use wall-mounted plant hangers that can double as candle displays. Always prioritize safety and ensure candles are not near curtains, drafts, or anything flammable.
### Maintaining the Magic: Keeping Your Candles Tidy and Functional After Week One
Your beautiful candles are now a part of your home. Here’s how to keep them looking and smelling their best:
* **Wick Maintenance:** After each burn (and before the next), trim the wick to ¼ inch (0.6 cm). This promotes an even burn and prevents smoking.
* **Soot Removal:** If you notice any black soot on the inside of your jar, gently wipe it away with a paper towel *after* the wax has cooled and hardened.
* **Preventing Tunneling:** For the first burn, allow the candle to burn until the melted wax pool reaches the edges of the container. This “memory burn” helps prevent tunneling in future burns.
* **Dusting:** Gently dust your candles with a soft cloth when they are not lit.
### Avoiding the Pitfalls: Common Mistakes That Make DIY Candles Fail
Even the most enthusiastic crafter can encounter hiccups. Here are common mistakes to avoid for successful DIY fall candles:
* **Incorrect Wick Size:** As mentioned, this is a primary culprit for tunneling or excessive smoking. Always research wick sizes based on your container diameter.
* **Not Stirring Fragrance Thoroughly:** If essential oils aren’t properly dispersed, the scent throw will be weak or uneven. Stir for at least 2 minutes.
* **Pouring Wax Too Hot or Too Cold:** Pouring too hot can cause the fragrance to evaporate. Pouring too cold can lead to an uneven surface or sinkholes. Follow recommended pouring temperatures.
* **Skipping the Cure Time:** This is a crucial step for scent development. Don’t be tempted to light your candle immediately. Patience is key!
* **Burning in Drafty Areas:** Drafts can cause uneven burning, smoking, and can even extinguish the flame. Always burn candles in still air.
* **Overloading on Essential Oils:** While you want a strong scent, too much essential oil can sometimes affect the wax’s ability to burn cleanly or even cause cracking. Stick to the recommended fragrance load percentages.
* **Not Centering Wicks:** A crooked wick leads to uneven burning and can be a fire hazard. Ensure your wick is perfectly centered and upright.
Creating your own fall-scented candles is a deeply rewarding experience. It’s a way to slow down, connect with the season, and fill your home with the pure, invigorating aromas of nature. So gather your supplies, embrace the cozy spirit, and let the autumnal magic unfold in your beautifully crafted DIY candles. Happy pouring!
Conclusion
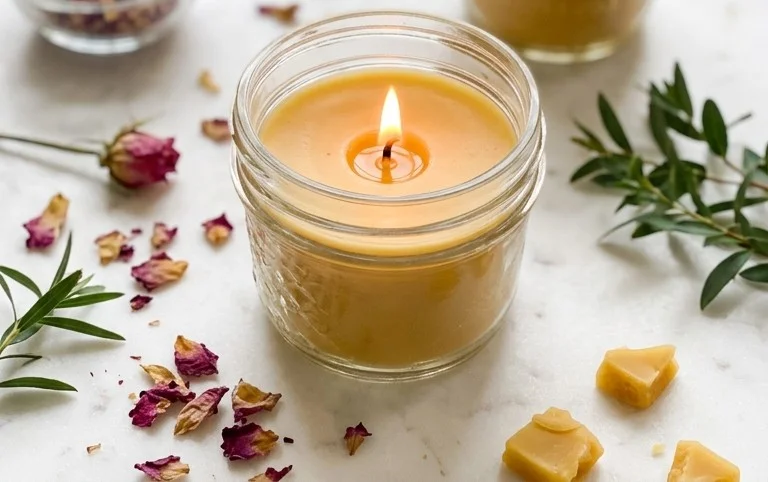
Transforming your home into a cozy autumn sanctuary is easier than you think! These DIY fall candles with essential oils not only add a beautiful, warm glow but also infuse your living space with comforting aromas that uplift your mood and make every day feel a little more special. The subtle scent of cinnamon, clove, or cedarwood can create an instant sense of peace and hygge.
Ready to get started? Your smallest first step could be as simple as gathering a few basic supplies you likely already have, like an old jar and some basic carrier oil, to try out one of the simpler recipes. For a different vibe, consider a citrus-forward blend for your kitchen or a woody, grounding scent for your home office. If budget is a concern, start with just a couple of essential oils and natural waxes. We hope these recipes inspire you, and we invite you to explore more creative ideas for a beautifully organized and inviting home!